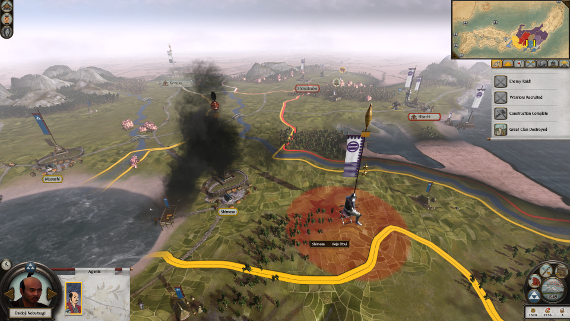
The Satomi army enters Shimosa province with a sizeable force, but when they see the size of our defending army in the castle, they decline to lay siege. Instead, their Daimyo opts for guerilla warfare, putting the port facilities to the torch. This turns out to be a blessing in disguise for we gain better intelligence about their force composition as they approach. It turns out that they have bow samurai while our own archers are only ashigaru. A prolonged archery duel, such as would be likely in a siege battle, would only favor the enemy. So we sally forth from our castle to meet them on the field.
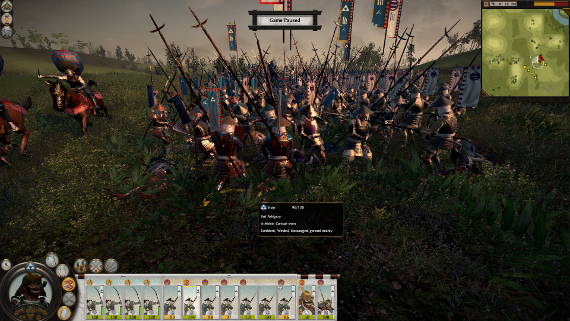
Our tactics for this battle are straightforward. The enemy has four generals and their associated cavalry bodyguards while our Daimyo is the only one of our generals present. We have equal numbers of archers, but theirs are all samurai. However, we have substantially more yari ashigaru than they do. So we have our ashigaru form up in a long line and have them charge straight towards the enemy archers and hopefully past them and into their own yari ashigaru. We keep a unit of yari ashigaru in reserve to intervene wherever the enemy cavalry seems ready to charge.
The battle proves more difficult than planned as the enemy troops’ morale are boosted by the presence of so many high-ranking officers. A couple of our ashigaru units waver and almost break until our Daimyo arrives to stiffen their resolve. Fortunately for us, the enemy generals, eyeing the wall of spears approaching, declines to personally enter the battle until it is far too late. When they do finally attempt to charge our Daimyo, our sole unit of yari samurai, having put an enemy unit to rout, was free to face them, while the reserve yari ashigaru unit hit them from behind. Our losses are heavier than we would have wished, but we win the battle handily.
With their army wiped out, naturally we do not hesitate to march northwards to take their almost undefended Hitachi province. With this the Satomi are reduced to a single province. Meanwhile, we spend koku not only on developing our economy but also on building up a secondary army to defend our western flank in case the Oda do attack. As more markets are built, we train new Metsuke and station them in the richest provinces we own to increase our tax income. Even the lowliest Metsuke can raise our tax rate by an impressive 5%! Our Ninja is sent northwards to keep an eye on the Satomi’s sole remaining province and scout out the lands beyond it.
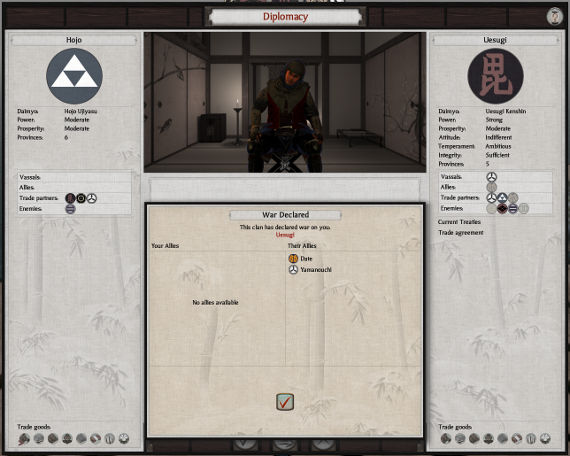
But before we are able to put the Satomi out of their misery, we receive most distressing news. The Uesugi clan who controls the lands beyond the Satomi and who possesses a larger army than we do, takes this opportunity to strike, unilaterally breaking our trade agreement in the process. For some reason we cannot discern, though the Yamanouchi are their vassals and the Date are their allies, neither clan joins in the war against us. The Yamanouchi remain as our trading partners while we have no contact at all with the Date. Our greatest fear is that the Oda should learn of our weakness and attack from the west. So we swallow our pride and take the only action available to us. We offer bribes to the Oda and hope that this combined with the substantial income from our trade agreement is enough to dissuade them.
This seems to work as the Oda, who are already at war with several other clans, continually moves their troops away from our shared border. But this strategy drains our coffers almost to nothing. Our Ninja reports that a substantial Uesugi force approaches from the northeast. We frantically recruit fresh troops to bolster our Daimyo’s army and transfer reinforcements from Sagami province. But we need more time to prepare, especially when we learn that the Satomi has assembled everything that they have left and is marching southwards as well. We abandon our western defenses, hoping that continuous gifts of koku to the Oda will suffice to prevent attacks, and march our secondary army to meet the Satomi.
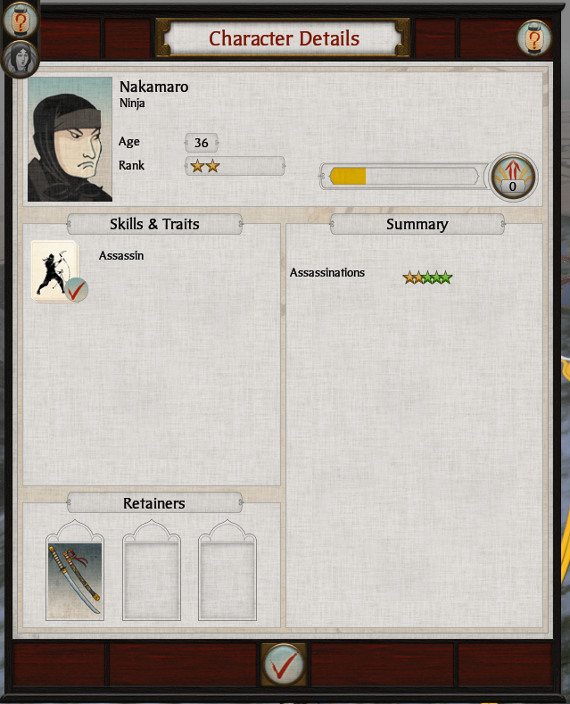
We buy time using our Ninja. He proves to be quite skillful and sabotages the Uesugi army to delay their advance. As they near the castle in Hitachi province, we order an assassination mission. He fails at killing the sole enemy general present but he does succeed at wounding him, depriving the Uesugi army of leadership. Our Ninja, who is called Nakamoro, is developing into quite a valuable operative. The delay also forces the enemy army to spend the winter in hostile lands, whittling down their numbers. This gives us the opportunity to attack, and we deploy our fire-throwing mangonels for the first time in battle. Leaderless, the Uesugi are easy to rout and we cut them down mercilessly. Meanwhile, our western army catches the remnants of the Satomi at a bridge crossing and does the same to them. With the path now open, we march north into Shimotsuke province and put an end to the Satomi once and for all.
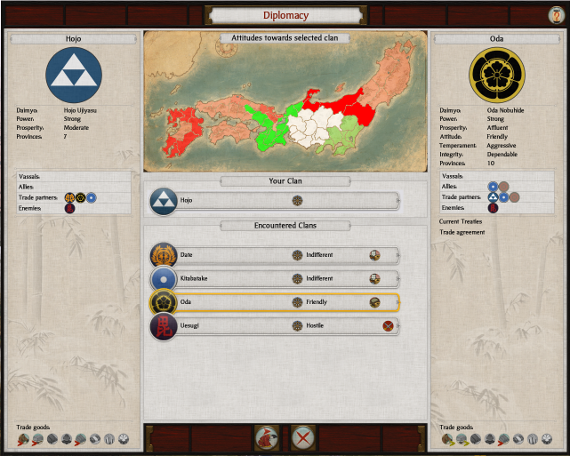
As we enter 1551, we take stock of the situation. The Uesugi are done. They are no longer a contender for the Shogunate. While our own star is ascendant, we are eclipsed by our major trading partners, the Oda. They remain friendly to us but they are now both stronger and richer than us. Worse, the disparity will likely grow over time as the Oda strike towards the valuable provinces in the Kanto Plain while only the poorer provinces in the north of Japan is open to us. It is only a matter of time before the Hojo and the Oda must make war against each other. Will we be honorable and wait for the Oda to strike or should we attack first when the odds are still not too stacked against us?
Leave a Reply